The Enchanting World of Homemade Bubbles: Beyond the Basic Mix
There's something inherently magical about bubbles. Their iridescent shimmer, gentle float, and ephemeral pop captivate children and adults alike. While store-bought solutions are convenient, crafting your own Diy Bubble Solution opens up a world of customization, allowing you to create bubbles that are bigger, stronger, more numerous, and even glow or bounce! Forget the ordinary; get ready to dive into recipes that transform simple soap and water into extraordinary spectacles.
The Secret Science Behind Super Bubbles
Before we mix, let's understand the magic. A bubble is essentially a thin film of soapy water trapping air. Water's surface tension naturally wants to pull molecules together, making a sphere the most efficient shape. Soap molecules, with their hydrophilic (water-loving) and hydrophobic (water-fearing) ends, insert themselves into the water film, reducing surface tension and allowing the water to stretch without breaking. This creates a flexible, durable skin around the air.
But for truly spectacular bubbles – the giant, long-lasting kind – we need a little extra help. That's where additives like glycerin or corn syrup come into play. These ingredients work by increasing the viscosity of the solution and making the bubble film thicker and more stable. They slow down evaporation, giving your bubbles a longer lifespan and greater resilience against popping. It's a fascinating bit of kitchen chemistry that makes all the difference.
When choosing between common additives, consider their unique properties:
- Glycerin: A sugar alcohol, glycerin is a humectant, meaning it attracts and retains moisture. This property helps keep the bubble film hydrated, making it incredibly strong, stretchy, and long-lasting. It also leaves less sticky residue, making it ideal for clean play and often preferred for giant bubble recipes. Glycerin performs exceptionally well in drier climates.
- Corn Syrup: A readily available, food-safe alternative, corn syrup also increases the solution's viscosity and slows evaporation, leading to stronger, more durable bubbles. While effective, it can be a bit stickier than glycerin, which might be a consideration for indoor play or very young children.
Both will significantly improve your Diy Bubble Solution, turning good bubbles into great ones. For a deeper dive into their differences and to help you decide which is best for your bubbling adventures, check out our detailed comparison: Glycerin vs. Corn Syrup: Which Makes Stronger DIY Bubbles?
Crafting Your Core Diy Bubble Solution (The Foundation)
Every fantastic bubble experience starts with a solid foundation. Here’s how to create a versatile core solution that you can then adapt for various fun activities.
The Basic Bubble Recipe (The Starting Point)
This simple recipe is perfect for everyday fun and uses ingredients you likely already have.
Ingredients:
- 1 cup warm water (distilled water is best for consistency, but tap works too)
- 1/4 cup mild dish soap (look for brands that *do not* contain lotions or moisturizers, as these can hinder bubble formation. Dawn Original or Palmolive Ultra are popular choices.)
- 2 tablespoons glycerin or light corn syrup (for enhanced strength and longevity)
Instructions:
- Gently combine the warm water and dish soap in a clean container. Stir slowly to avoid creating too much foam, which can impede bubble quality.
- Add the glycerin or corn syrup and continue to stir slowly until fully incorporated.
- The Resting Rule: This step is crucial! Let your mixture sit undisturbed for at least 30 minutes, or ideally, a few hours. This allows the ingredients to fully blend and stabilize, leading to stronger, more elastic bubble films. For truly professional-grade bubbles, some enthusiasts let their solution sit overnight.
Why the wait? Allowing the solution to rest helps the surfactant (soap) molecules evenly distribute throughout the water, creating a more uniform and robust film. It also gives any initial foam a chance to dissipate, ensuring a smoother solution for better bubbles. For more easy recipes and tips for kids, explore Master Homemade Bubbles: Easy Recipes & Pro Tips for Kids.
Beyond Basic Bubbles: Giant, Glowing & Bouncing Adventures
Now that you have your foundational Diy Bubble Solution, let's explore how to elevate your bubble game to astonishing new levels!
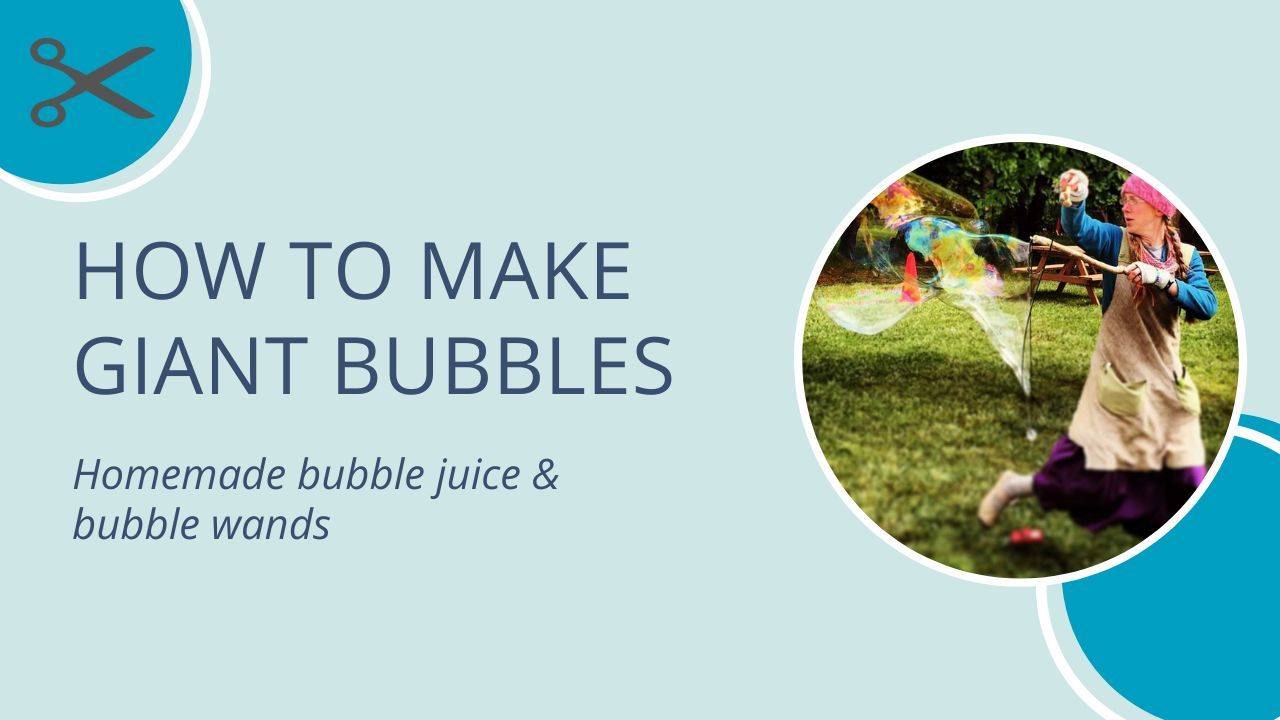
Unleashing Giant Bubbles
Making giant bubbles is less about a completely different recipe and more about a slightly stronger solution and the right technique. The key is to maximize the glycerin or corn syrup content to give the film incredible elasticity and strength.
Tips for Giant Bubbles:
- Amplify the Additives: For truly colossal bubbles, you might increase the glycerin or corn syrup by another tablespoon or two in the core recipe. Experiment with the ratios to find your sweet spot.
- Wider Wands: Ditch the small plastic wands. You'll need a large bubble wand or, better yet, a DIY string loop. These can be made from two sticks and a loop of cotton string, allowing you to create massive films.
- Choose Your Day Wisely: Avoid windy days. Wind makes bubbles pop faster. A still, slightly humid day is ideal.
- Gentle Motion: Instead of blowing, use a slow, steady motion with your wand or string loop to draw the bubble through the air.
The Magic of Bouncing Bubbles
Imagine bubbles that don't immediately pop on contact! While not indestructible, you can create bubbles that gently bounce on certain surfaces, or even on your hands.
How to Make and Bounce Them:
- Solution Strength: Use a high-glycerin or high-corn syrup solution, as their enhanced durability is essential.
- The Glove Trick: The secret is a pair of soft, woven cotton gloves (like gardening gloves or winter gloves). The tiny fibers in the cotton prevent the bubble film from breaking on contact, allowing it to bounce gently. Bare skin or smooth surfaces will cause them to pop instantly due to oils and surface tension disruption.
- Gentle Play: Bounce them softly on a gloved hand, a cotton cloth, or even on a carpet. They won't last forever, but it's an incredibly fun, fleeting experience.
Illuminate the Night with Glowing Bubbles
Ready for a bubble display that truly shines? Glowing bubbles are a fantastic way to add a unique twist to evening outdoor play or a party atmosphere.
Ingredients & Method:
- Prepare your standard Diy Bubble Solution.
- The Glow Factor: Carefully extract the non-toxic, fluorescent ink from the inside of a yellow or green highlighter pen. Simply cut open the plastic casing (with adult supervision) and squeeze the ink-soaked felt tube into your bubble solution. Start with one highlighter's worth of ink for a batch of solution and add more if you want a brighter glow.
- The Blacklight Effect: These bubbles won't glow in regular light. You'll need a UV blacklight to reveal their vibrant luminescence. Position a portable blacklight near your bubbling zone for the best effect.
Safety First: Always supervise children closely during this activity. Ensure they do not ingest the highlighter liquid or get it in their eyes. While generally non-toxic, it's best to handle with care.
Tips for Bubble Machine Success
Bubble machines are fantastic for creating a continuous stream of bubbles, but they have specific needs to perform optimally.
Key Considerations:
- Foam-Free Solution: Bubble machines thrive on a smooth, low-foam solution. Excessive foam can clog the machine's mechanisms and produce fewer bubbles. Ensure your Diy Bubble Solution has rested long enough for all foam to dissipate.
- Extended Resting Time: For bubble machines, let your solution sit for several hours, or even overnight. This allows the ingredients to fully integrate and any surface foam to completely settle, preventing clogs and ensuring a consistent flow.
- Mild Soap is Key: Stick to mild dish soaps without added moisturizers or degreasers, as these can create too much foam or leave residue in your machine.
A well-prepared homemade solution can often outperform commercial bubble machine fluid, providing a denser, more impressive cloud of bubbles.
The world of bubbles is ripe for exploration and experimentation. With these comprehensive Diy Bubble Solution recipes and tips, you're equipped to create memorable moments, whether you're chasing giant spheres across the yard, bouncing iridescent orbs, or illuminating the night with glowing spectacles. So gather your ingredients, stir up some magic, and let the bubbling adventures begin!